Let's See How They Improved By Using Our Products
Learn how our customers increase their leads and revenue through personalization and many other features. Check their stories!
Crisp Chat Integration on Page
If you want to give a quick response, using Live Chat is one solution. Now our Page feature can be integrated with Crisp, a Live Chat tool.
In this article, you will learn how to integrate Page features with Crisp. Before starting, make sure you already have a Crisp account that will be integrated. If you already have it, follow these steps:
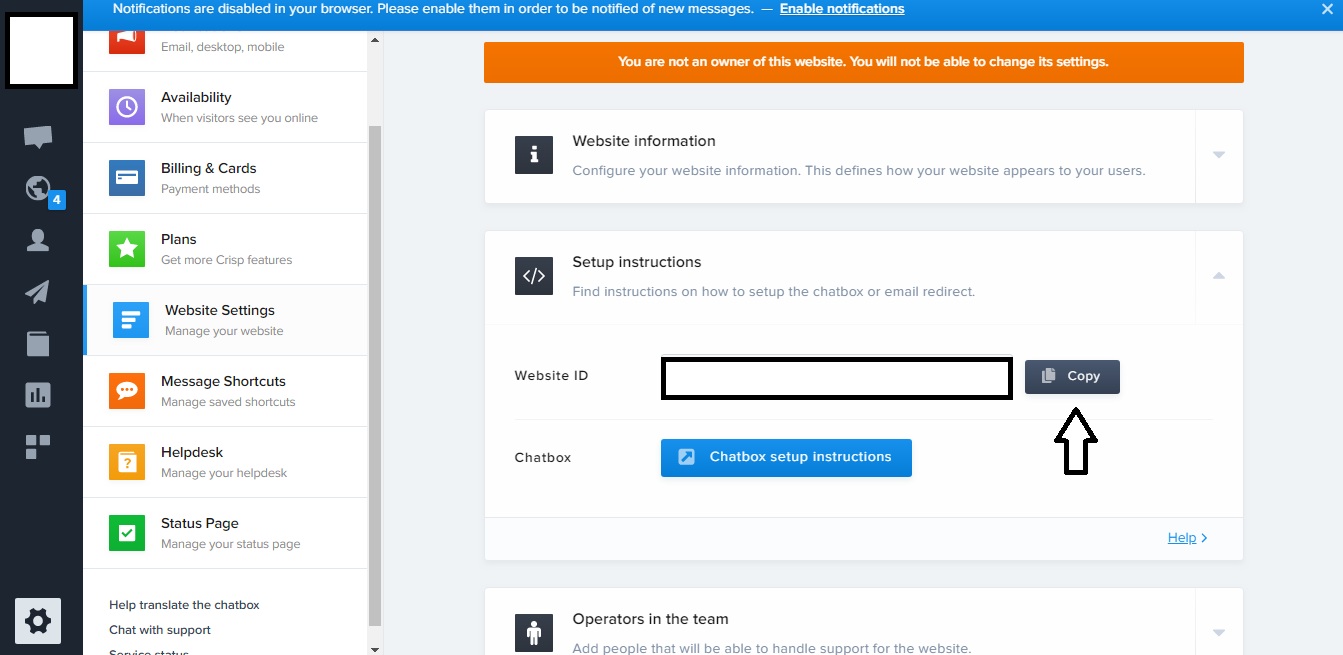
When finished, now let’s move to your MTARGET account.
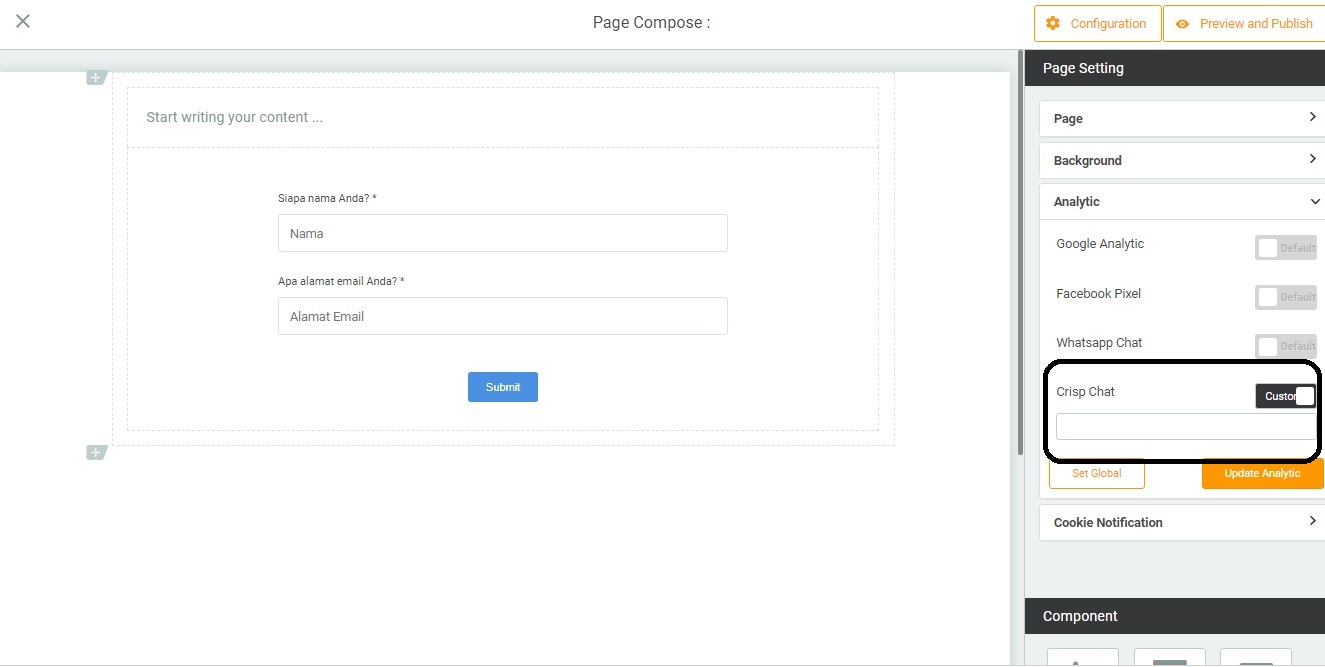
Now you have successfully integrated Crisp with the Page that was created. Now your Page has Live Chat.
Note: If you want the Crisp code to be saved default on Page, you can set Global when you reach step number 6. So, you don’t have to bother copying the code again every time you create a page.