Let's See How They Improved By Using Our Products
Learn how our customers increase their leads and revenue through personalization and many other features. Check their stories!
Overview Event Management
This Event Management feature will make it easier for you to manage events by using MTARGET. Here is an overview Event Management for those of you who want to know the functions that are in Event Management:
Dashboard
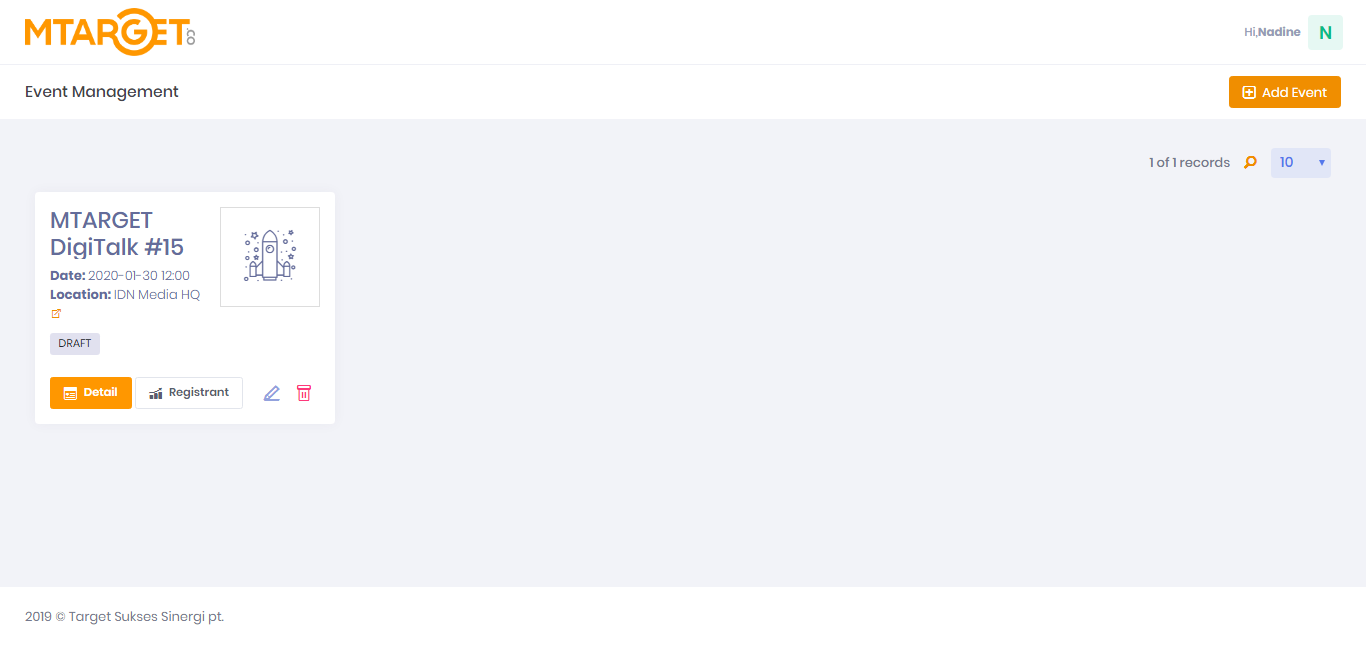
In dashboard this will display the event that you want to run. By adding via ‘Add Event’, you can create projects of events that you want to run.
Click ‘details’ to see the detailed configuration inside.
Event Details
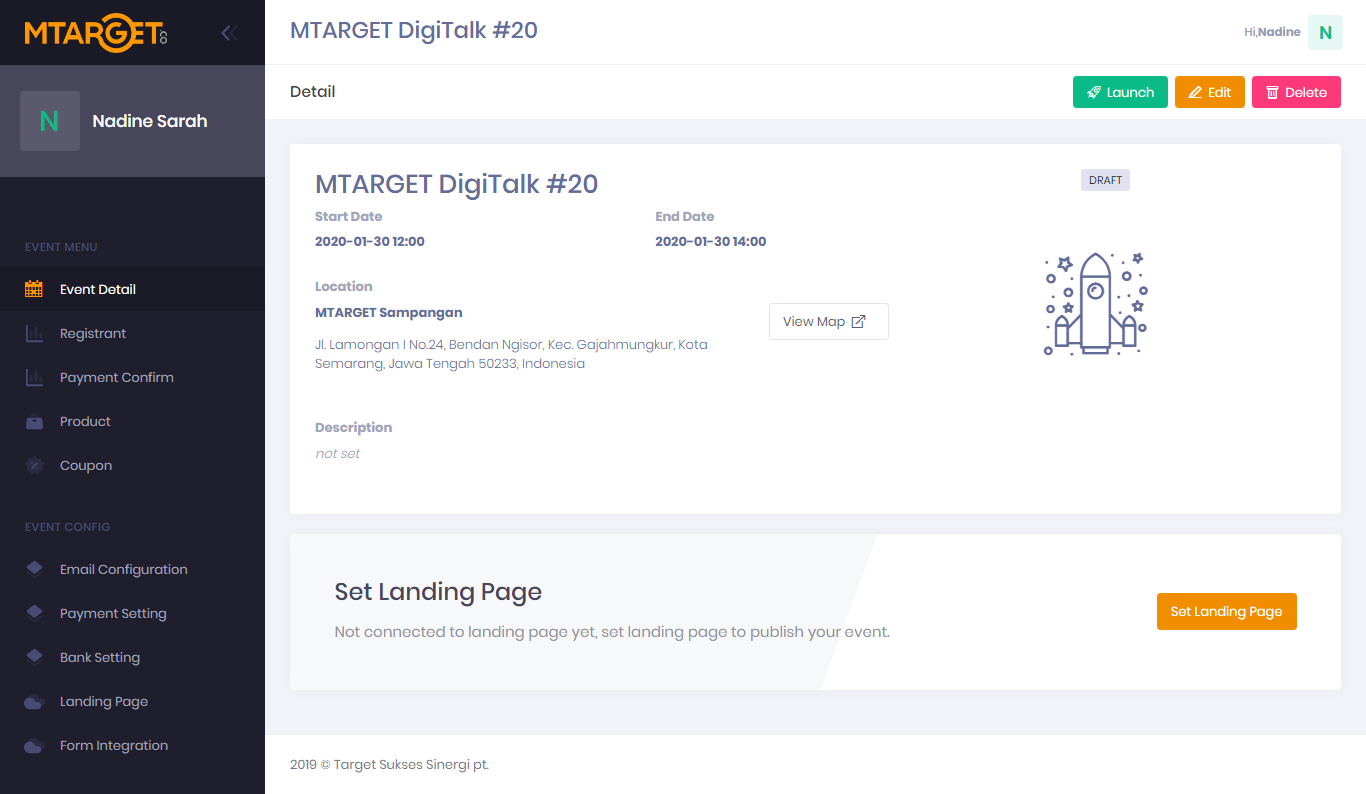
This page will display the event details that you created. You can share it on social media like Twitter, Facebook and LinkedIn, or by copying the Landing Page event link
You can start the event that you want to run with the ‘Launch’ button, delete editing information about event with the ‘Edit’ button, and delete the campaign event with the ‘Delete’ button.
Registrant

This page will display participant information, both those registered only and participants who have already come.
You can also add participants manually via the ‘Add Registrant’ button or by importing participant data with the ‘Import’ button. To mark participants who have arrived, you can press the checklist button then click ‘Check-in’.
Product
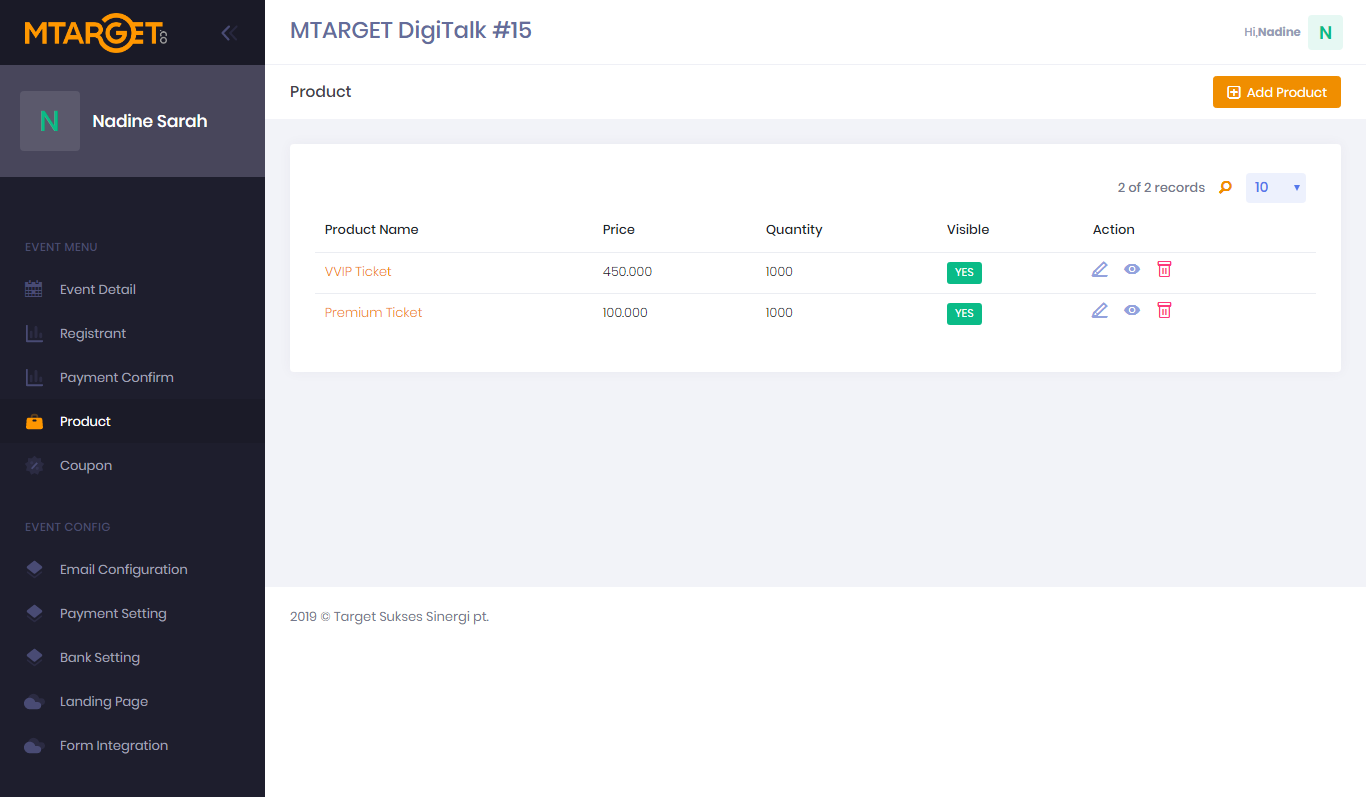
This page displays the products that you will install on the Page. To add a product, click the ‘Add Product’ button.
Coupun
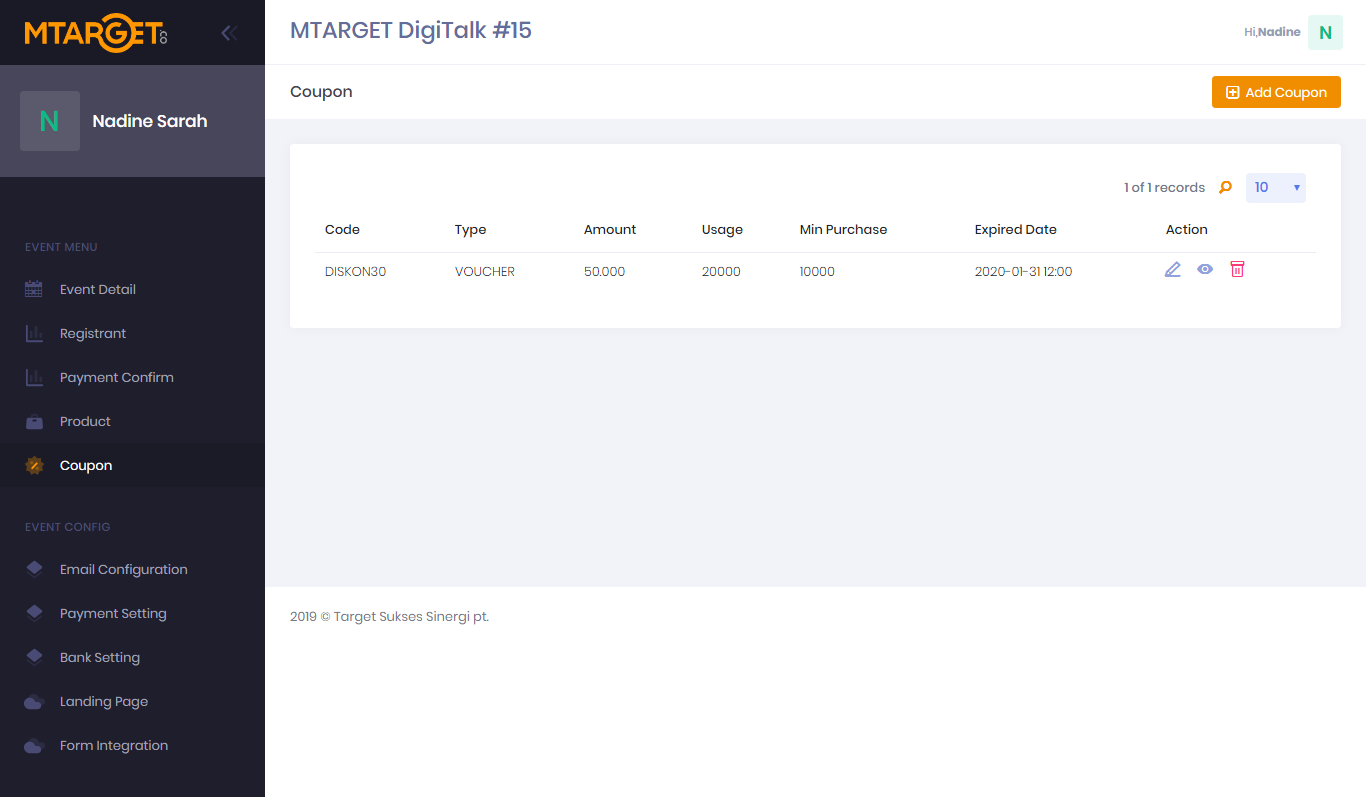
This page displays the coupons that you want to include at event. Suppose there is a participant who has a coupon that you make, then he will get a discount in accordance with the agreement.
Email Configuration
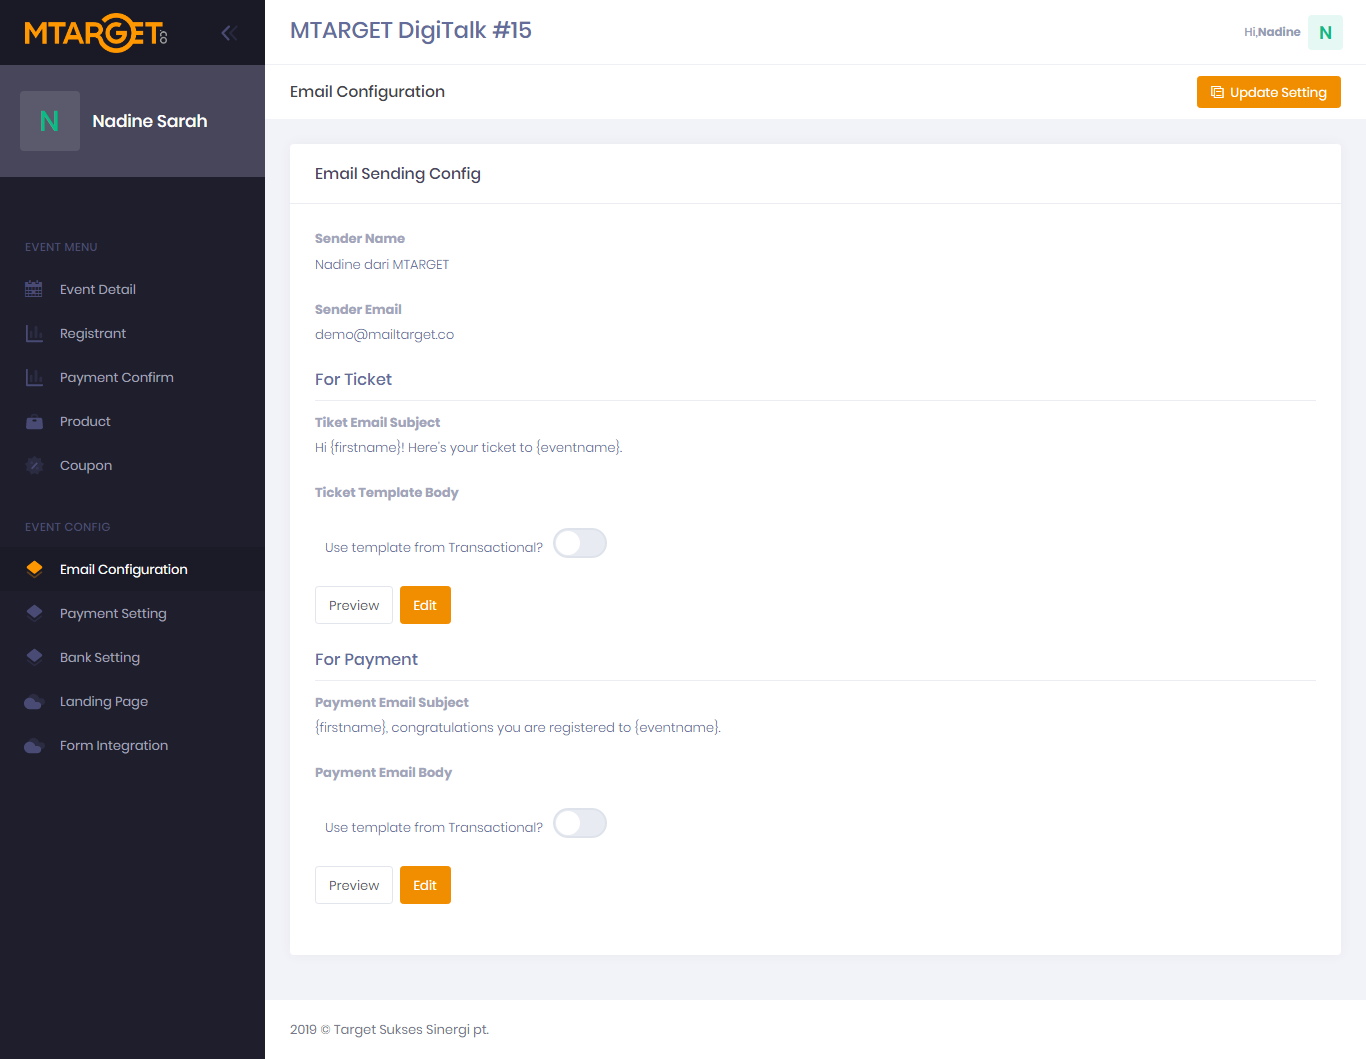
This page displays the configuration needed in Event Management, such as the name sender and sender email. You can also edit emails for tickets and payments. This is important for you to know, to send a ticket e-mail or payment e-mail via the Event Management feature, you also need to activate the MTARGET Transactional Email feature.
Payment Settings
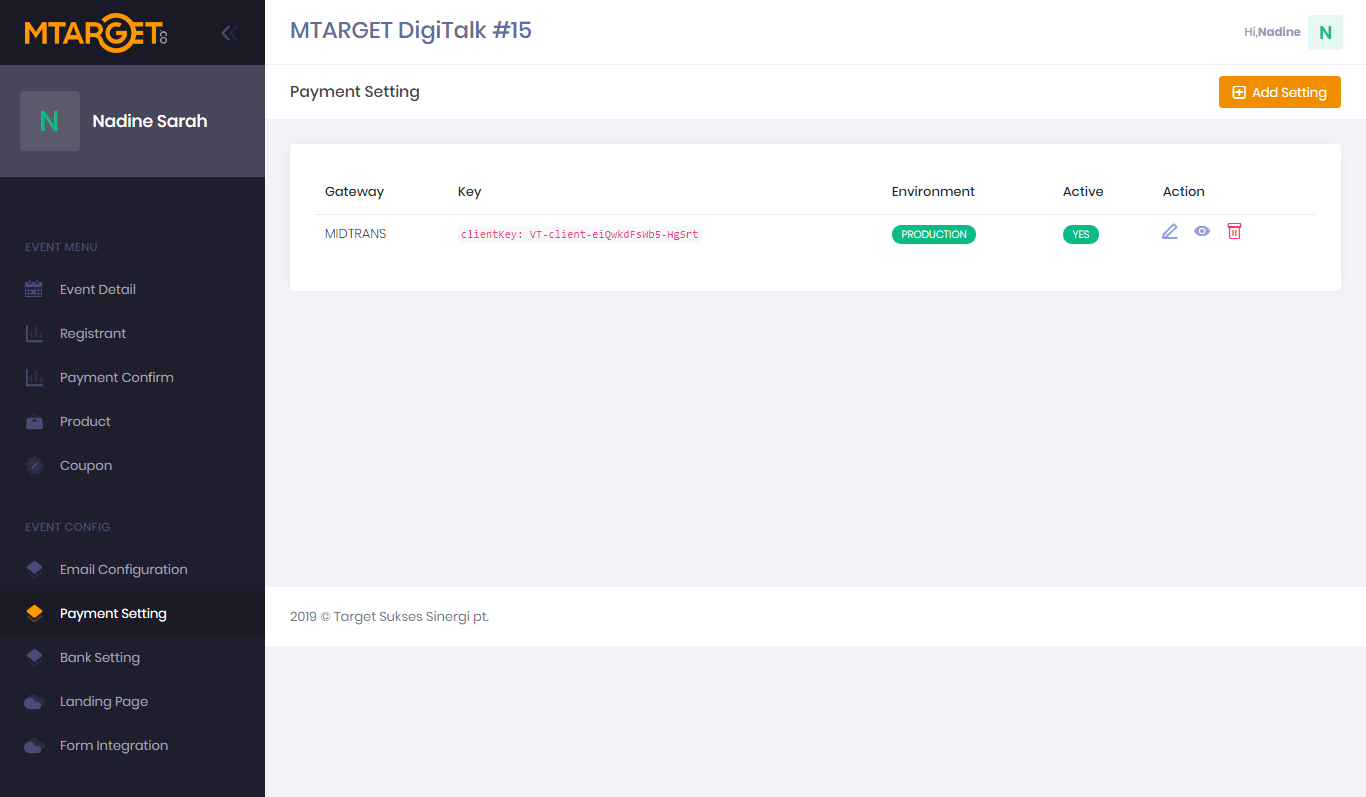
This page is the payment configuration page at event that will be run. To determine the method of payment, make sure you have an account with Midtrans and My Money for successful payment.
Note: If you use a free ticket which means that without requiring payment, then you do not need to add a Payment Setting.
Bank Setting
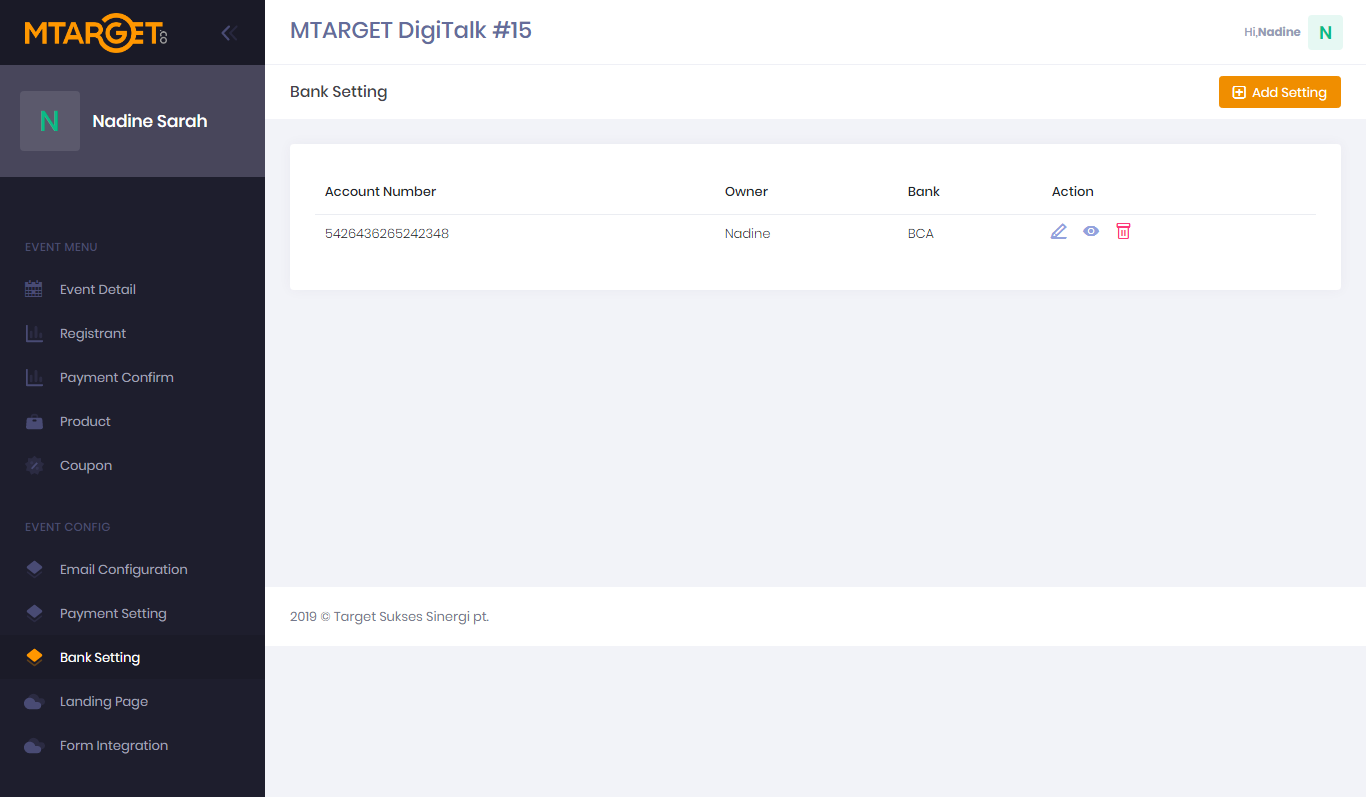
This page will contain bank information that will be used for payment. You will be asked to enter the name of the owner, bank name and account number to be used.
Landing Page
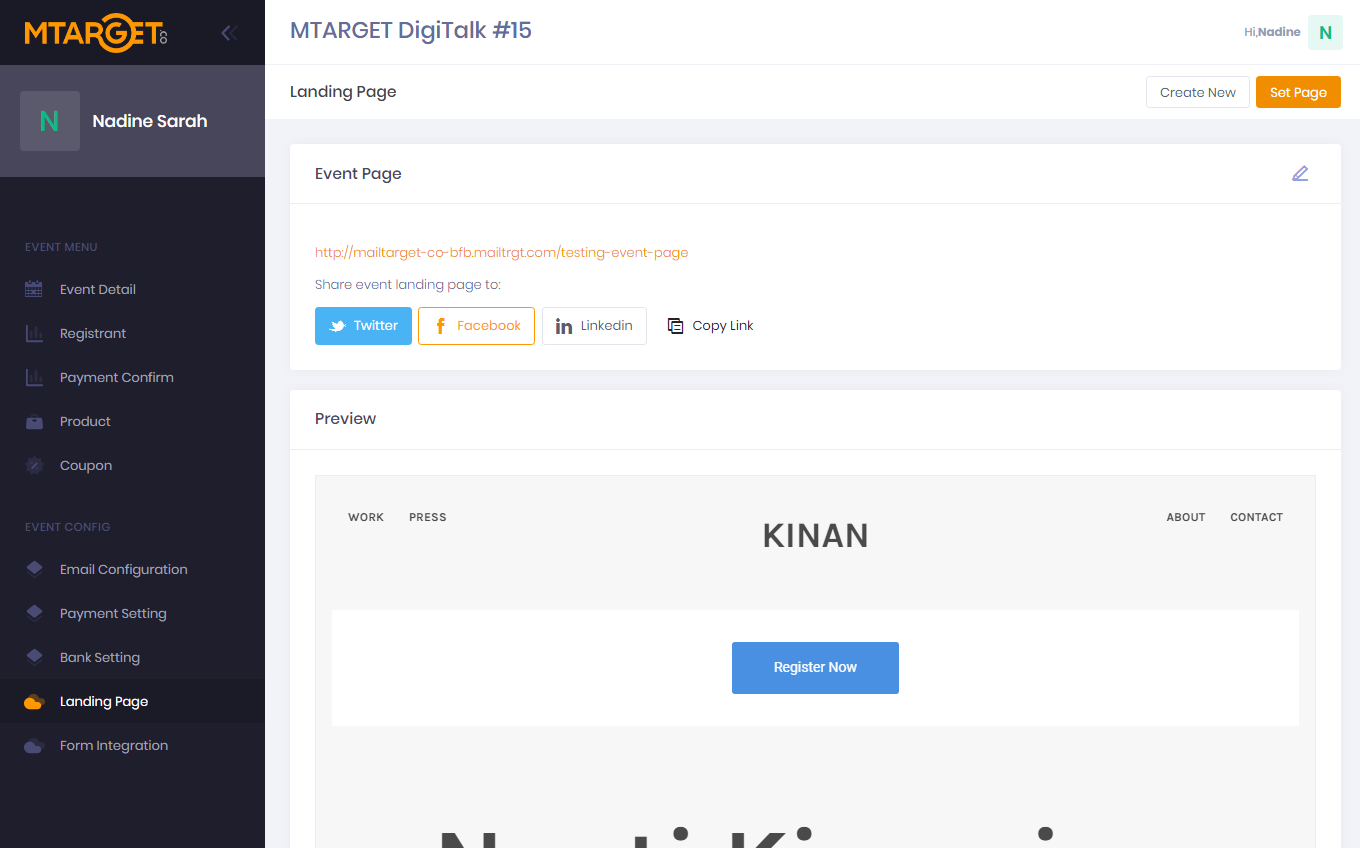
This page shows the Page you used at event. You can specify the Page you want to use which means it has been created before, and also can create a new Page. When you create a Landing Page, you will be automatically redirected to the MTARGET main app.
Form Integration
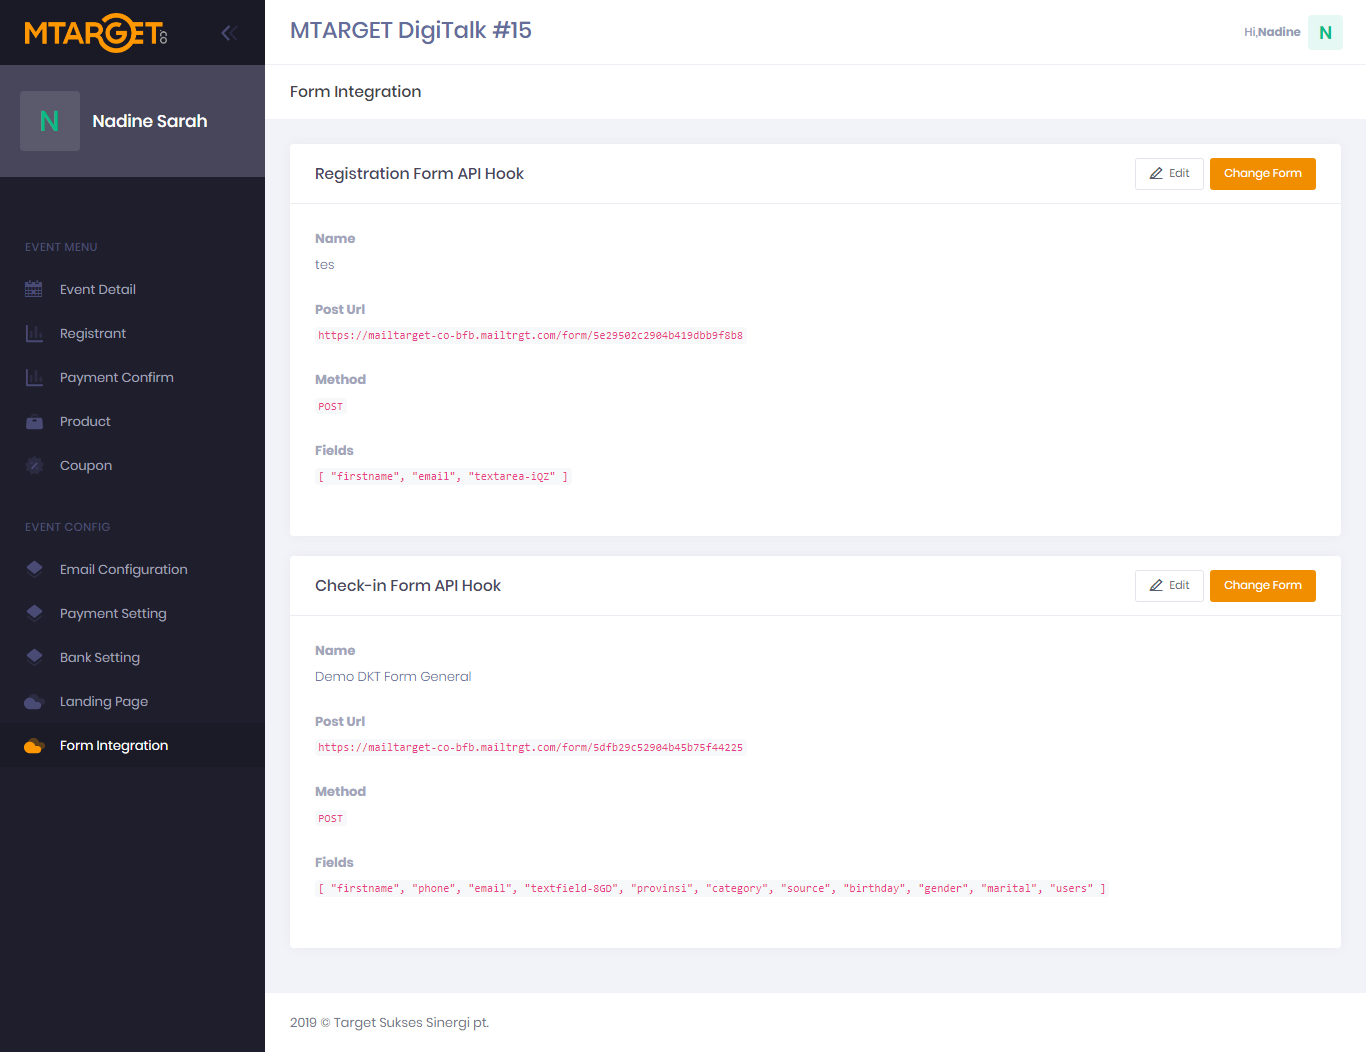
Here you can find 2 types of forms, namely Registration Form and Check-in Form.
API Form Registration Registration Can be used for forms that will be used as a participant registration form. After you select the Form you want to use, after the user fills in the data the Form will automatically be integrated into the MTARGET Contact Book.
Check-in API Hook Form Can be used as a Form for Check-in when an event that marks the participant has been re-registered. After you select the Form you want to use, after the user has checked-in, the data will automatically be entered into the Check-in Form data.