Let's See How They Improved By Using Our Products
Learn how our customers increase their leads and revenue through personalization and many other features. Check their stories!
Sender Email Domain Authentication Settings in Another DNS Manager
In this article you will find out how to set up SPF and DKIM. For example, we use cPanel and Cloudflare as DNS providers. You can also set DKIM and SPF where you buy your domain, such as from GoDaddy, RumahWeb and others.
If you want to read email sender domain authentication in general with more information, you can read it here.
In this guide, you will learn about:
Here’s a tutorial on setting up DKIM and SPF in cPanel:
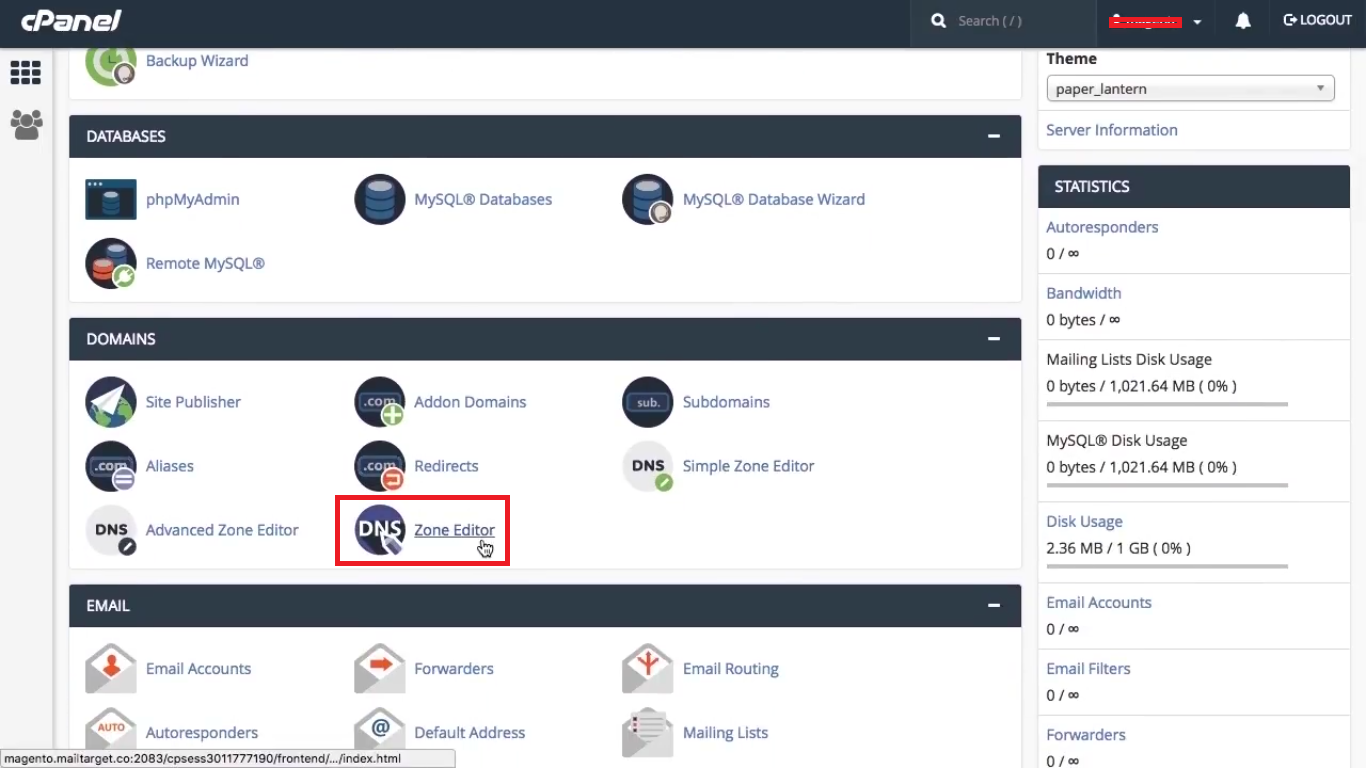
For DKIM
Fill in the settings for adding a CNAME Record by clicking the “Add Record” button then select “Add CNAME Record”.
Fill in the settings like this:
Record type: CNAME Record
Name: `mt1._domainkey.(Fill in your domain)`
Record/Value: dkim.mailtarget.co
TTL: Default
For SPF
Fill in the settings for adding a TXT Record by click the “Add Record” button then select “Add CNAME Record”.
Fill in the settings like this:
Record type	: TXT
Name        : (yourdomain.com)
Record/Value: v=spf1 include:spf.mailtarget.co ~all
TTL   		: Default
NOTE, if you have previously enter the SPF settings, then you don’t need to add a new record. Just add include: spf.mailtarget.co to the old Record. For example, you already have an SPF setting v=spf1 include: spf.domain.com ~all, then you just need to change it add it tov=spf1 include: spf.domain.com .co include: spf.mailtarget.co ~all without adding a new Record.
Domain status will be updated automatically no later than 2x24 hours, from you adding the settings. If you see a check mark on the list of countries attached, it means your domain status has been updated.
If you are using another DNS provider like Cloudflare, Rumahweb, Qwords, dDomainesia and others, then you can follow these steps:
Cloudflare.com, Enter the DNS menu after you select a domain. 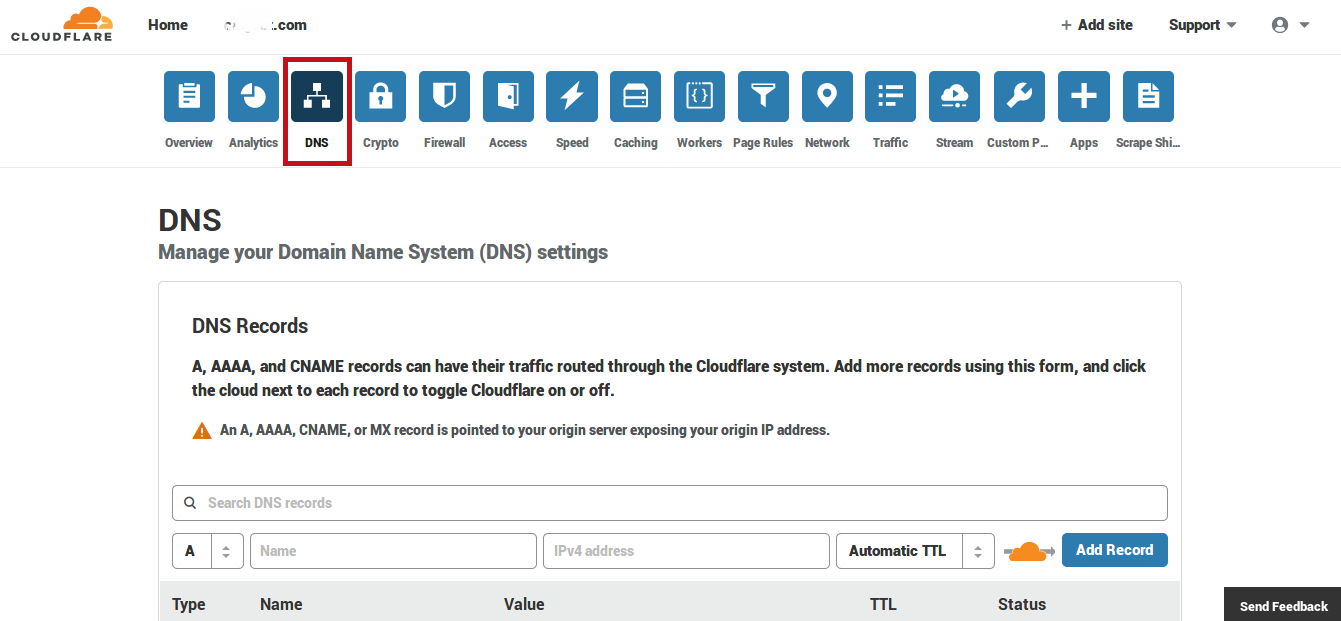
rumahweb.com You can find this setting under Manage Domains, then select DNS Management. 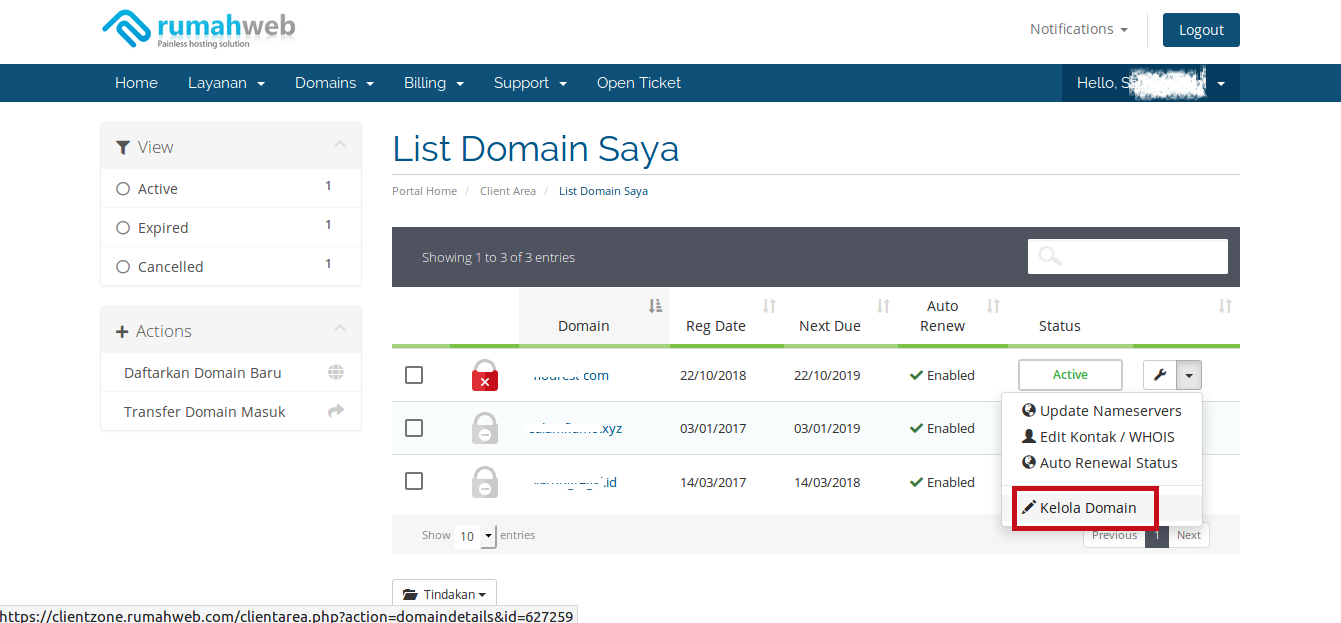

qwords.com, select Domain DNS Manager. 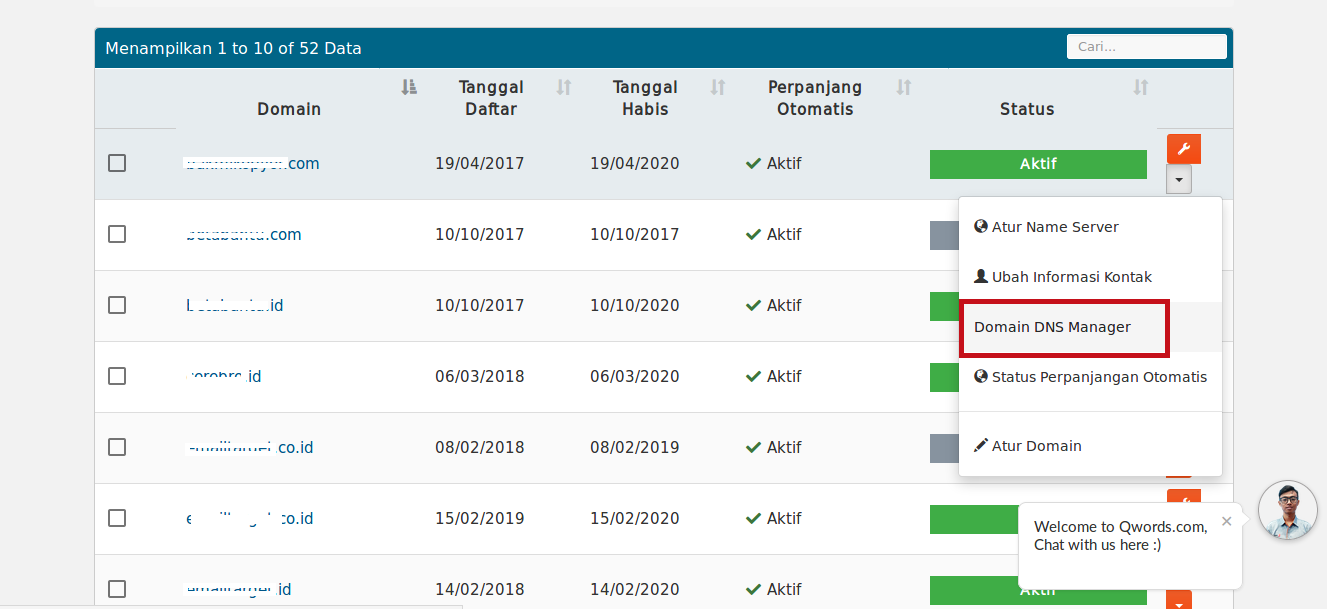
domainesia.com, after selecting the domain, click Addons. Then click Manage on the DNS Zone Manager. 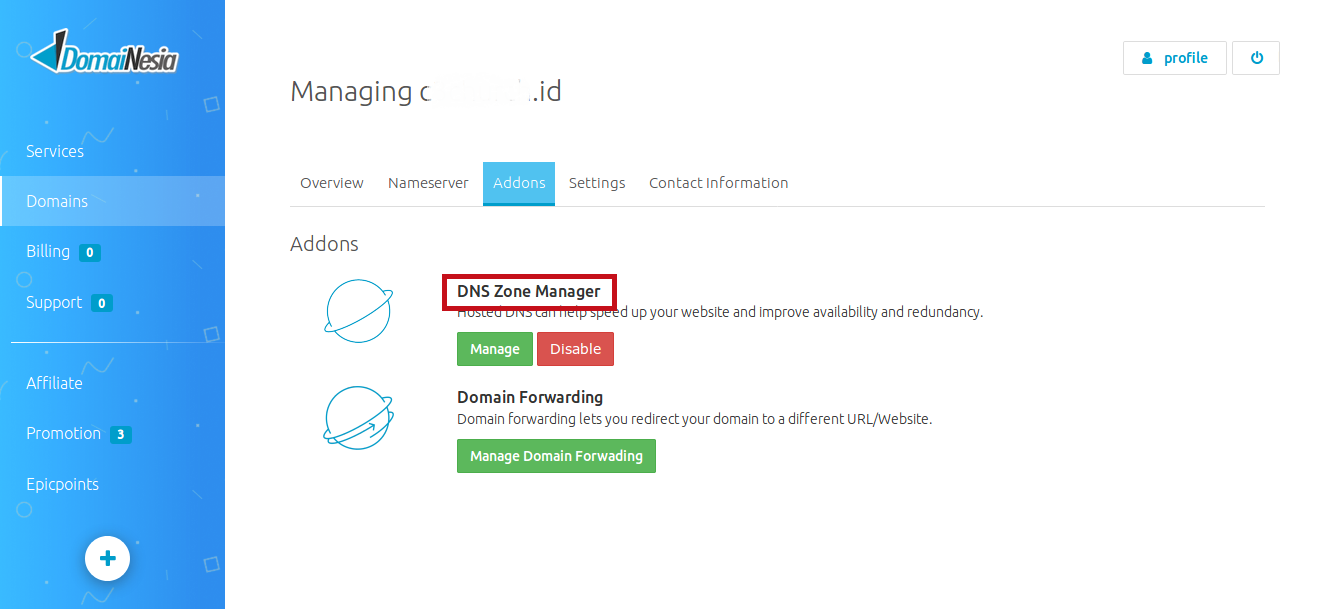
DKIM settings Fill in the settings to add a CNAME Record.
Record type: CNAME Record
Name: mt1._domainkey.(Fill in your domain)
Record/Value: dkim.mailtarget.co
TTL: Default
SPF settings Fill in the settings to add a TXT Record.
Record type : TXT Name : (yourdomain.com) Record/Value: v=spf1 include:spf.mailtarget.co ~all TTL : Default
If you have finished making the settings, check point number 3 below to check whether your settings are correct.
Domain status will be updated automatically no later than 2x24 hours, from you adding the settings. If you see a check mark on the list of countries attached, it means your domain status has been updated.